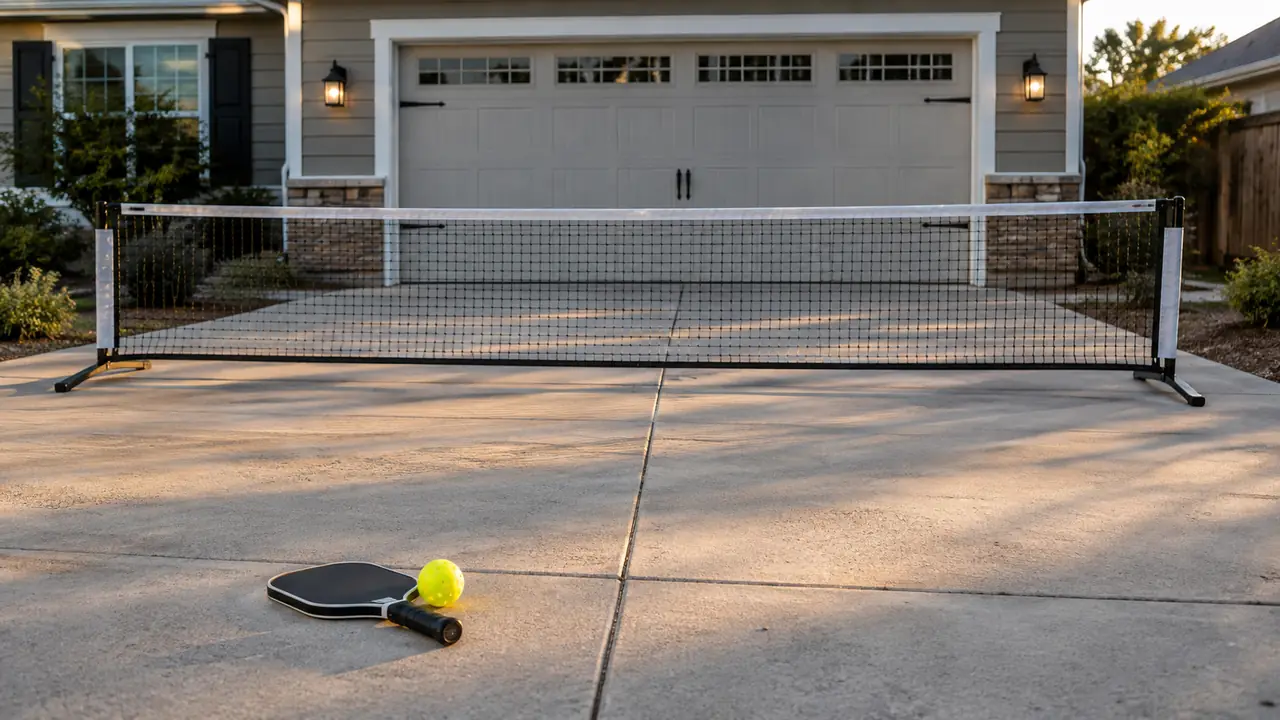
If you play pickleball more than twice a week, you have probably wished for a court in your own driveway. The local park courts fill up by 8 a.m. The rec center only has open play on Tuesdays. And the wall at the end of the garage is fine for a few minutes of dinking, but it does not teach you to hit the ball where you actually need to hit it. What you want is a regulation-size net you can put up in the driveway, use for twenty minutes, and take down before the neighbors start watching.
I am Gene, and I have been setting up a portable net in my two-car driveway in Santa Rosa for about a year now. I am a retired civil engineer, which means I measure things twice and I read the spec sheet before I open the box. The net I use is the A11N SPORTS portable regulation net, 22 feet wide and 36 inches tall. This guide is the exact process I use, with the exact measurements that matter, so you do not have to learn them the way I did.
The 22 ft A11N net is the one I set up in my own driveway
Steel frame, PE net, carrying bag included. If you want to follow this guide step by step, this is the net I use.
Amazon Check Today's Price on Amazon →Step 1: Measure the driveway and pick the anchor spots
Before you unzip the carrying bag, find out whether your driveway is wide enough. A regulation pickleball court is 20 feet wide, and the A11N net is 22 feet wide, which gives you about a foot of net on each side of the court lines. In practice, you want at least 22 feet of clear width at the spot where the net will stand, plus a little room to walk around the frame. My driveway is 24 feet wide at the garage and narrows to 20 feet at the street, so I set the net about 10 feet out from the garage door, where the width is still 23 feet.
You also need to think about length. The net goes across the driveway, and you will be standing on the other side of it, hitting the ball back toward it. You need at least 12 feet of clear space on your side of the net to stand and swing, and ideally 15 feet so you can take a real step into the shot. I mark my spot with a piece of chalk on the concrete: one line where the net goes, one line 15 feet back where my toes start.
One more thing: check what is behind the net. On my first try, I put the net up with the garage door behind it. That worked fine. When I tried the other end of the driveway, the net sat in front of the street, and every time a car went by, the driver slowed down to watch. Now I always set up so the house is behind the net and the open driveway is on my side. It feels more private and the ball stays in the driveway.
Step 2: Lay out the frame pieces on the ground
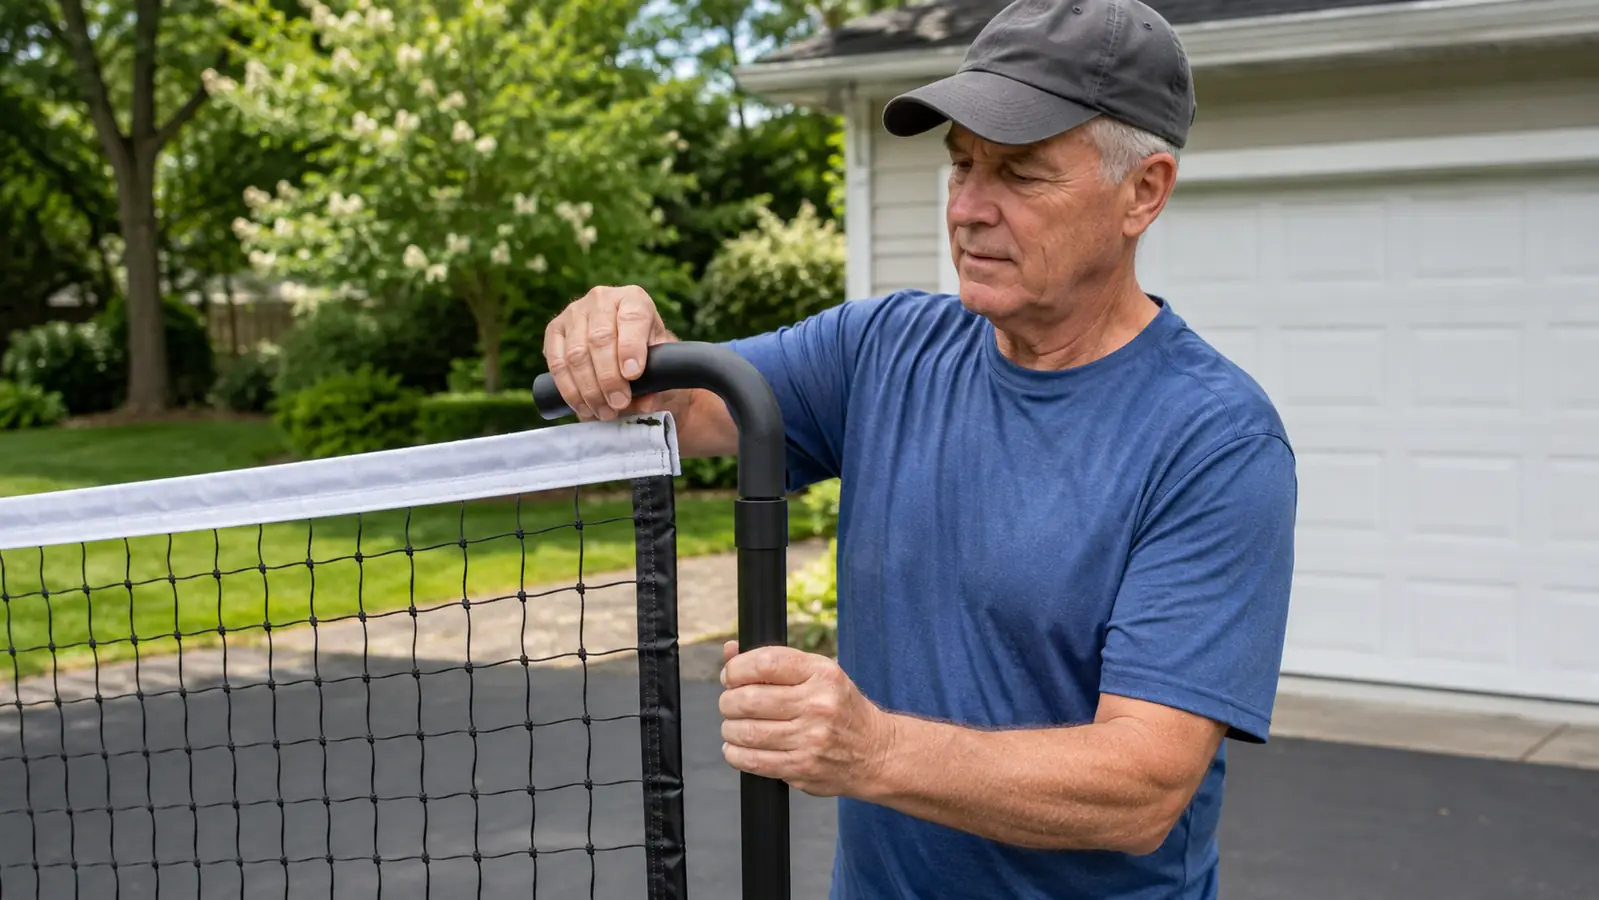
The A11N SPORTS frame comes apart into sections, and the first time you open the bag, it looks like a puzzle. It is not. Lay every piece on the driveway in a straight line, with the connectors facing the same direction. The steel tubes are the frame, the corner pieces are the joints, and the net is the part with the mesh. I lay the tubes out from left to right, shortest to longest, and I put the corner pieces at the two ends.
This is the step most people rush, and it is the step that causes the most swearing. If you try to assemble the frame standing up, the whole thing sways and the net catches the wind and you end up fighting it. On the ground, the frame is easy to manage. The A11N frame uses a push-button lock on each joint, so you slide the tube in until the button pops through the hole. You will hear it click. If you do not hear a click, the joint is not seated.
I also use this time to check the net for snags. The PE net is strong, but the corners take the most abuse when the net is folded and unfolded. Run your hand along the top edge of the net before you attach it to the frame. If you find a loose thread, tie it off rather than pulling it. Pulling a thread in a PE net can open a run that turns into a hole.
Step 3: Attach the net to the frame before you stand it up
This is the order that makes the whole job easy: frame on the ground, net on top of the frame, then stand the whole thing up. The A11N net attaches to the frame with loops that slide over the tubes. Start at one corner and work your way around, sliding each loop over the frame tube. The net should hang evenly, with the bottom edge about an inch above the concrete. If the net touches the ground, it will drag when you move the frame, and it will wear through at the bottom.
When the net is attached on three sides, leave the bottom loose on the fourth side. That opening is how you get your hand in to adjust the net if it is twisted. A twisted net is the most common setup mistake, and it is easy to make because the net looks fine from the front. Run your hand down the mesh from the top bar to the bottom bar. If your hand travels straight, the net is straight. If it angles off to one side, the net is twisted and you will be hitting balls that curve oddly.
The A11N SPORTS net has a 1.5 inch mesh, which is regulation size for pickleball. That matters more than you might think. A net with a bigger mesh lets balls slip through, and a net with a smaller mesh catches the ball too dead, so it drops straight down instead of bouncing back. With the regulation mesh, the ball hits the net and drops into the driveway in a way that feels like a real wall.
Step 4: Stand the frame up and lock the legs
Standing the frame up is a two-person job the first time, and a one-person job after you have done it a few times. I lift the center of the top bar first, then walk my hands out to the corners. The A11N frame is steel, so it is heavy enough to feel solid but light enough for one person to manage. If you have a bad back or a bad shoulder, get someone to help you with this step. There is no prize for doing it alone.
Once the frame is vertical, lock the legs. The A11N SPORTS frame has a locking tab on each leg that flips down to hold the leg in the open position. If you skip this, the frame will fold up the first time a ball hits the net hard. I learned this the embarrassing way, with a ball that hit the top of the net and folded the whole thing down onto the driveway. The frame was fine, but my pride was not.
Now check the net height. The top of the net should be 36 inches off the ground, which is regulation height for pickleball. The A11N net is 36 inches tall, so this is mostly a matter of making sure the frame is sitting flat. If your driveway has a slope, put a shim under the low leg. A folded piece of cardboard works fine. The net has to be level, or the ball will roll off to one side after it hits.
Step 5: Set up your hitting line and start drilling
With the net up, the last step is marking your hitting line. I use a piece of chalk to draw a line 15 feet back from the net. That is about the distance from the baseline to the net on a real court, and it is the distance that makes your practice shots feel like real shots. If you stand too close, you will develop a swing that is too short. If you stand too far back, you will develop a swing that is too long. Fifteen feet is the sweet spot.
For the first few sessions, do not try to hit the net hard. Hit the ball softly and watch where it lands. The goal is to hit the net at the same height every time. When you can do that ten times in a row, start adding a little pace. The net will bounce the ball back toward you, and you will get into a rhythm: hit, bounce, catch, hit. That rhythm is the whole point of a driveway net. It is the closest thing to a wall you can get without a wall.
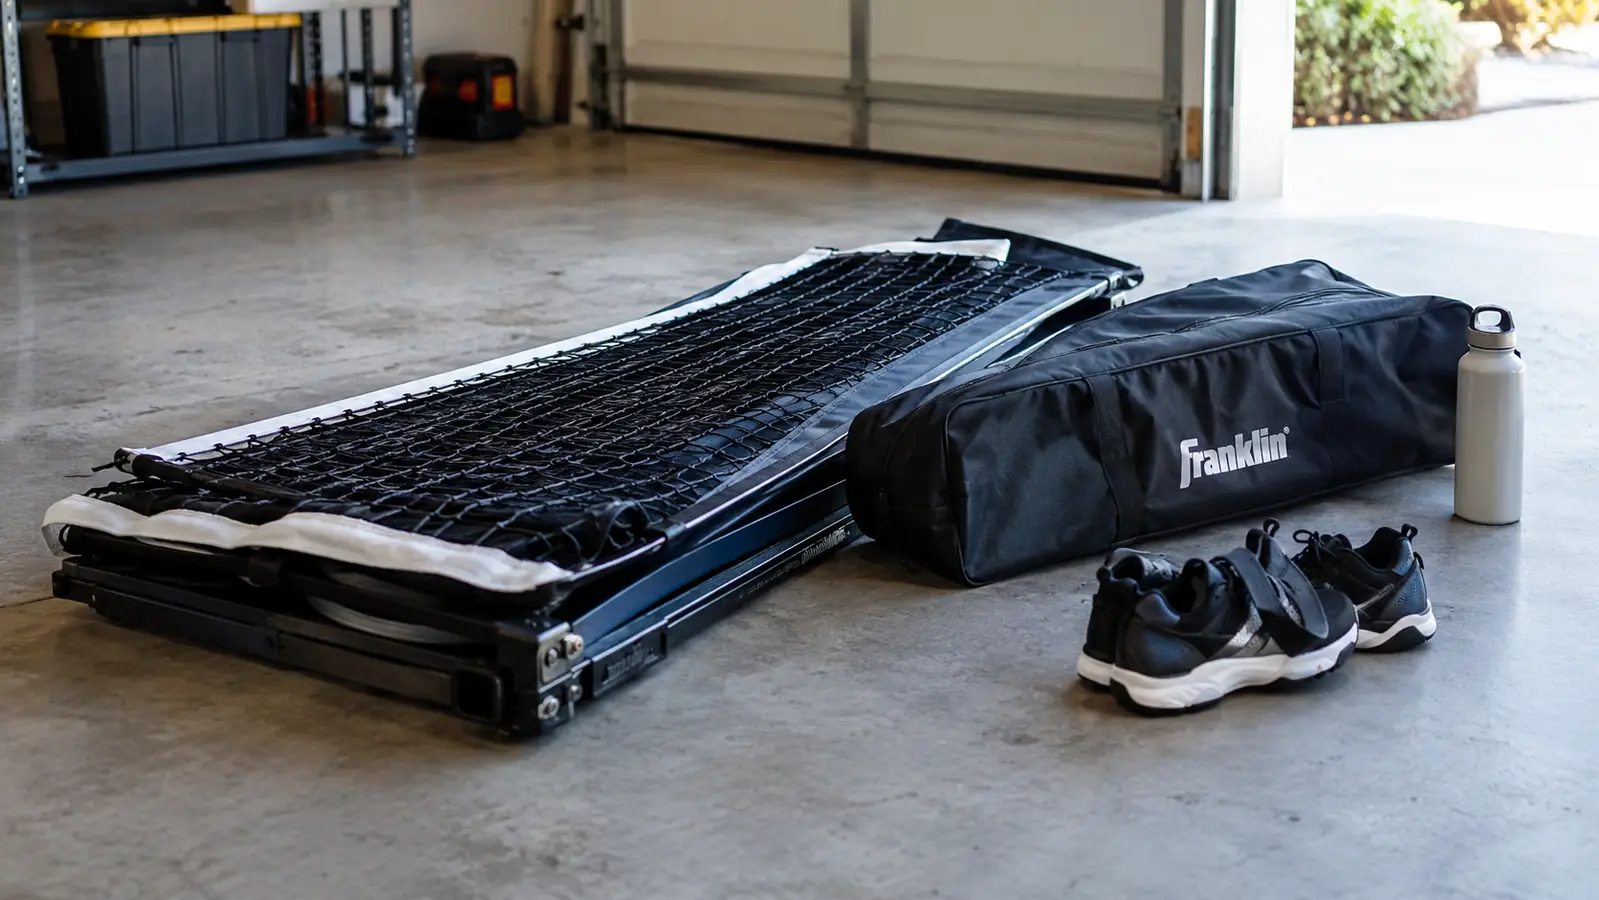
I keep a small bucket of balls next to my hitting line so I do not have to chase every ball. When I am done, I pick up the balls, fold the net down, and slide the frame back into the carrying bag. The whole setup takes me about 12 minutes now, and the takedown takes about 8. The first time, it took me 40 minutes and I had to watch a YouTube video halfway through. It gets faster.
What Else Helps
A few things make the driveway setup work better than just the net. First, a piece of chalk for marking your lines. It washes off with rain, but it stays put for weeks on dry concrete. Second, a small folding chair and a water bottle, because you will spend more time in the driveway than you planned. Third, a tennis ball or two for the bottom of the net if your driveway slopes. I use a folded towel, which works just as well.
I also recommend a paddle that you already know you like. The net is not the place to test a new paddle. You want the ball to come off your paddle the way it always does, so you can focus on where the ball goes. And if you have knee issues like I do, wear whatever knee support you normally wear. The driveway is concrete, and concrete is harder than a court. My right knee, which I had scoped years ago, lets me know when I have been hitting too long on concrete.
The whole setup takes me about 12 minutes now, and the takedown takes about 8. The first time, it took me 40 minutes and I had to watch a YouTube video halfway through.
Ready to set up your own driveway court?
The A11N SPORTS 22 ft portable net is the one I use every week. It folds flat, stores in the included bag, and takes about 20 minutes to set up once you know the order.
Amazon Check Today's Price on Amazon →